Wallpaper is an excellent means of embellishing and deepening any space, and applying it to the wall tends to make the task even easier. However, conventional wallpapering is mainly done by pasting the wallpaper using a pasting table. An exciting and innovative use of the wall is when you apply direct adhesive on it, saving about 30% of time.
This guide by Home Wall, best Wallpaper Shop Dubai will take you step-by-step through the entire installation process, from start to finish. Whether you want to impress with a jaw-dropping spectacle or set a moody wall background for any setting, effective tips are waiting for you.
Materials Checklist Needed For DIY Home Wallpaper Installation
- Measuring Tape
- Pencil & Level
- Wallpaper Paste or Adhesive
- Seam Roller
- Wallpaper Brush or Squeegee
- Sharp Utility Knife
- Cutting Mat or Straightedge
- Sponge or Cloth
- Ladder or Step Stool
- Bucket of Water if Required
How To Install Wallpaper at Home? Stepwise DIY Process
Step 1. Prepare the Wall
Remove all dust, grease, and old glue from the walls. Fill up your holes with filler and let it dry; smooth out the bumps with sandpaper. These new walls must be completely cured.
It ensures that the wallpaper Dubai retains its vertical alignment, especially when the walls are not uniform. For glossy paint, lightly sand to prepare for better adherence with the wallpaper. The wall must be dry for the operation to proceed.
Step 2. Mark the wall
Using either a tape measure or a level and pencil, get the straight line going vertically, 1-2 inches, approximately from where the first strip of wallpaper is to go up. This mark is significant, and you should conform to it to get a neat and professional finish with either standard or living room wallpaper.
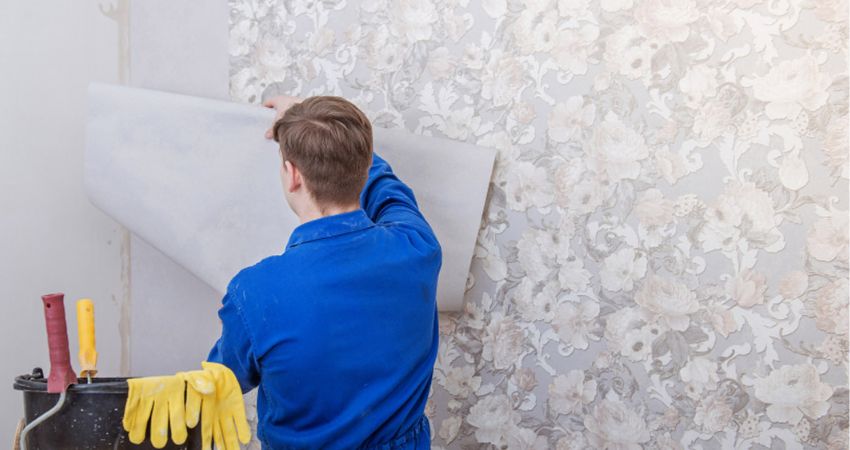
Step 3. Cut the Wallpaper to Size
Measure the height of the wall and add 2-3 inches for trimming allowance at the top and bottom. Unroll the wallpaper and cut it into the exact length using sharp scissors or a utility knife. And if your wallpaper pattern repeats, then make sure you align the next strip with the pattern so that you don’t obtain a misaligned pattern.
Step 4. Paste the wallpaper
For non-pasted ones, apply paste evenly by using a roller or a pasting brush on the back of the cut strip, and ensure the edges are well covered when the ultimate application is required.
Pre-pasted Wallpaper Dubai should be applied according to the manufacturer’s instructions, ensuring proper soaking in water before hanging. For Peel and Stick wallpapers, simply peel off the backing before placing it on any surface. should be worked per the manufacturer’s specifications for soaking in water before hanging.
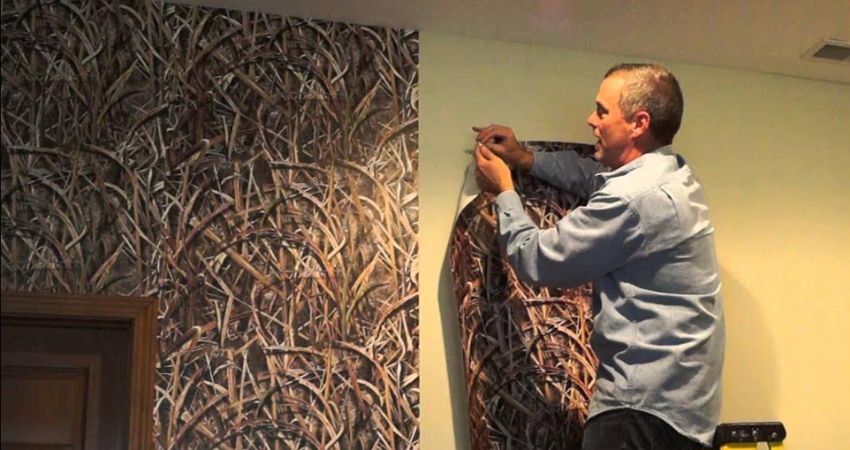
Step 5. Apply the Wallpaper
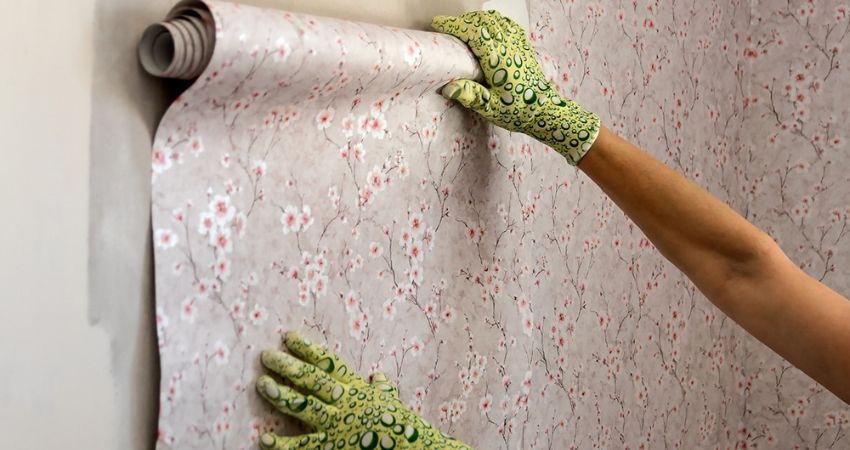
Start by pressing the edge of the room wallpaper against the wall. Now, use your marked line to align the edge as you start from the top and press it against the wall. Smooth it from the centre to the edges with the help of a wallpaper brush or squeegee as you go along to exclude air bubbles.
Then you can have it adjusted before the paste dries or the adhesive sets. This step is carried out in the same way as the next strips while ensuring the patterns are matched.
Step 6. Trim Excess Wallpaper
Once the wallpaper is in place, smooth, and tight, take a straightedge and a sharp utility knife and trim the top and bottom wherever there is excess. Do not pull or stretch the paper.
Use the seam roller to press the edges and corners for a neat finish, particularly on high-traffic areas where wallpaper is used, such as the hall or office.
Which Home Room Wallpaper is the Most Difficult to Install?
- Bathroom Wallpaper – Most Challenging
Due to the moisture and steam, it is the most challenging, and it requires vinyl or moisture-resistant wallpaper that is applied with a heavy adhesive to prevent peeling.
- Kitchen Wallpaper – Might be Difficult
The Kitchen wallpaper might be challenging for the DIY process because of grease, heat, and splashes. You want to look for washable and heat-resistant wallpaper, along with intricate cutting around cabinets and outlets.
- Staircases & Hallways – Generally Difficult
Complex to install wallpaper on high or angled walls. Requires ladders and precision for even alignment.
- Ceilings – Tough for Beginners
Requires physical effort; aligning wallpaper overhead is challenging and not ideal for those new to DIY installation.
- Kids Room & Living Room – Easier
Selecting the right wallpaper is one of the easiest areas in terms of wall treatment, as flat and wide walls with minimum obstacles give an easy and quick wallpaper installation.
What Varieties of Wallpaper Exist Commonly in Dubai?
In the Dubai market, various types of wallpapers are available, each with its distinct look, which serves as a standard of use. From the rapid DIY type of stuff to fancy ends, here are the top five most popular ways of changing any part of the house.
- Peel & Stick Wallpaper: This type is ideal for kids room wallpaper, which can be changed after a few months due to its easy application and removal.
- Vinyl Wallpaper: Most certainly waterproof, and a highly sturdy type of wall covering, ideally suited for wet areas. Best suited to a kitchen wallpaper.
- Textured Wallpaper: It provides a natural sense of depth and experimental feel, therefore making it a common option for modern or minimalist environments.
- Mural Wallpaper: An enormous style is huge, with dramatic effects on any accent wall, with endless themes and styles.
- Fabric Wallpaper: Fine, soft, and rich to the touch, this is perhaps the ultimate bedroom wallpaper theme because it simply cannot fail to be elegant and warm.
Choose the Right Wallpaper For Every Room in Your Home
- Suit the Room: For kitchen or bathroom wallpaper, select vinyl material wallpaper, and for the bedroom and living room, opt for bright or textured designs to add some aesthetics.
- Personality: Pastoral for classical, geometric for modernity, playfully printed for children’s rooms.
- Colour: Light shades would make rooms appear larger; darker tones would make a room cosy, while bright designs would create something memorable.
- Choose Wallpaper Type: Peel-and-stick is the most straightforward for at-home DIY projects; free paste requires water, while non-pasted may be more permanent.
- Check Samples First: Try out with different lights before you settle on one.
- Correct Measurements: Include 10% for cuts, corners, and recurring patterns.
- Consider Maintenance: For customised wallpaper use in high-traffic areas, use unitised or commercial-grade printing wall coverings.
Closing Notes!
It is quite a simple DIY task, one can do at home improvement by wallpapering with the right tools and materials. The above-mentioned steps are clear from the selection of the right tools, wallpaper design, to preparation of the wall.
Each step is equally important for a quality DIY installation. With proper knowledge, measurement, patience and precision, you shall have professional-like wallpaper results. Whether as an accent wall or the whole room, Home Wall guides you into bringing lasting beauty and style into your space.